
Learn where Firehose keeps its controls, so you can follow any guide on this site. Every guide names a control and where it is; this page shows how those places fit together.
This page describes Firehose 1.0.1.
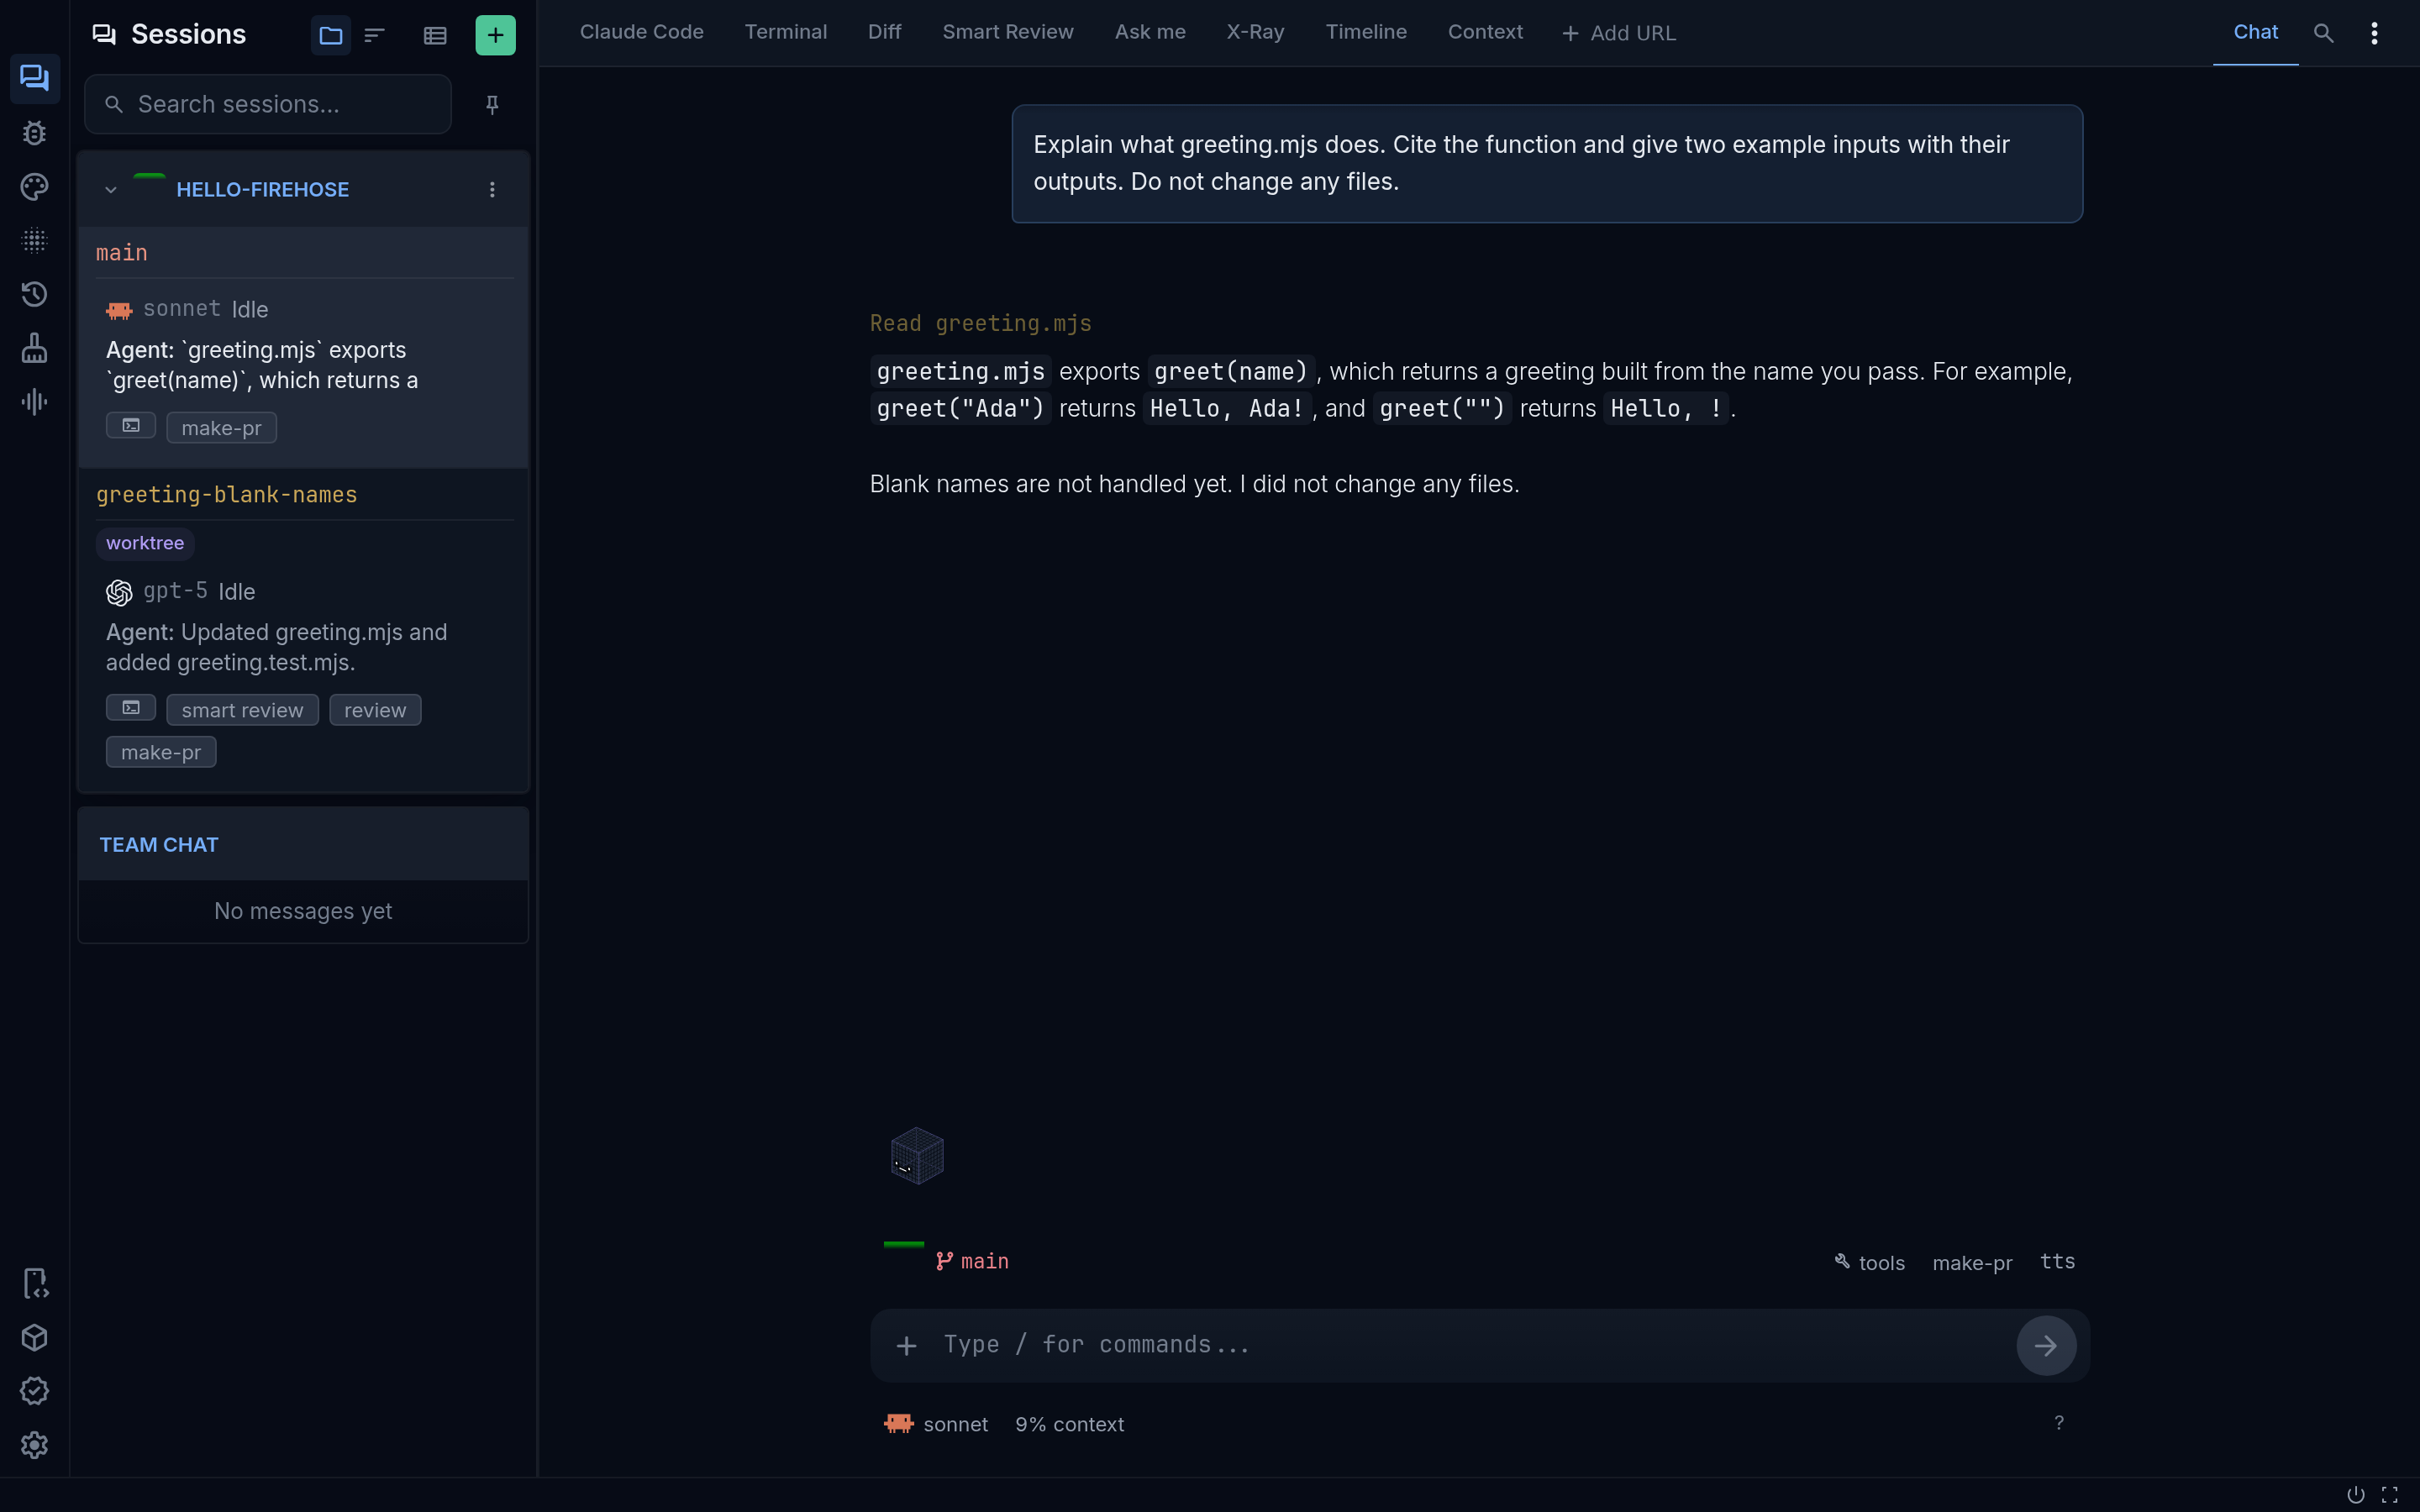
The layout on a computer
Section titled “The layout on a computer”The Firehose window has four areas, from left to right and top to bottom:
| Area | Where it is | What you use it for |
|---|---|---|
| Icon rail | The narrow strip of icons on the far left edge | Switch the sidebar between panels. The speech-bubble icon at the top shows Sessions. The gear icon at the bottom opens Settings. |
| Sessions sidebar | Beside the icon rail | See every session, grouped by project. The + button in its header, labeled New session, starts a session. |
| Workspace tabs | A row across the top of the selected session | Open Terminal, Diff, Smart Review, Ask me, and other tools. The Chat toggle sits at the right end of this row. |
| Prompt bar and message box | The bottom of the selected session | The prompt bar shows the session’s folder and branch, with commit and tools on the right. Below it, the message box is where you type to the agent. |
A status bar runs along the very bottom of the window.
Start a session
Section titled “Start a session”Select New session, the + button at the top right of the Sessions sidebar. If the sidebar is too narrow to show it, open the ⋮ Menu button in the sidebar header instead.
The New agent session dialog walks through three steps:
- Pick a project. Choose a project, then select Next: Choose a workspace. To create a project, select New git project below the list.
- Choose a workspace. Choose Current checkout, New worktree, or Existing branch. See Choose a workspace.
- Choose an agent. Choose a provider and model, check permissions, and select Start session.
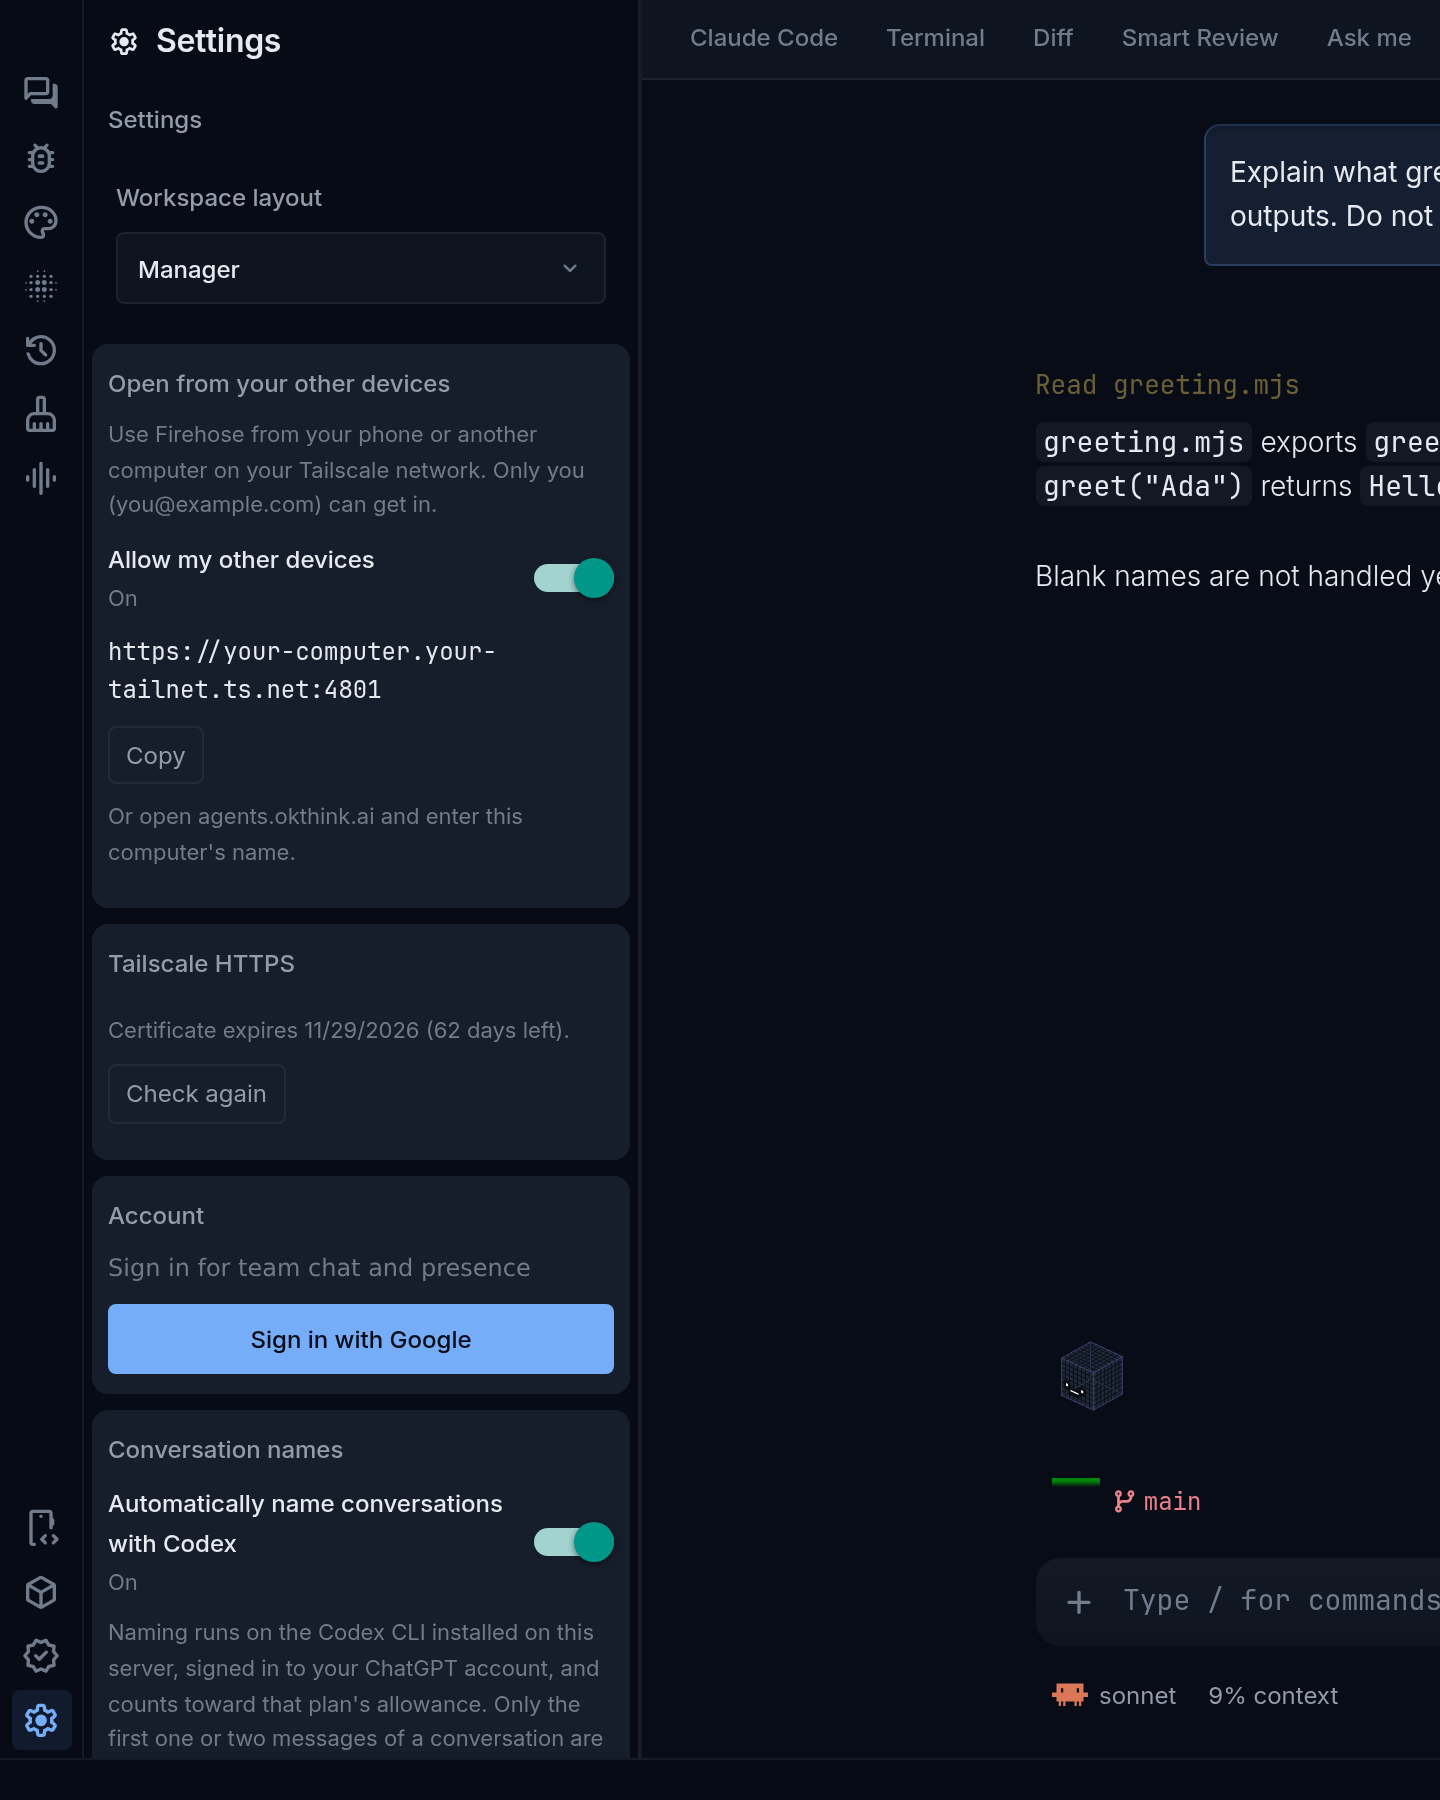
Open Settings
Section titled “Open Settings”Select the gear icon labeled Settings at the bottom of the icon rail. Settings opens in the sidebar. See Projects, agents, and settings for what each section does.
Work in a session
Section titled “Work in a session”Select a session in the Sessions sidebar to open it.
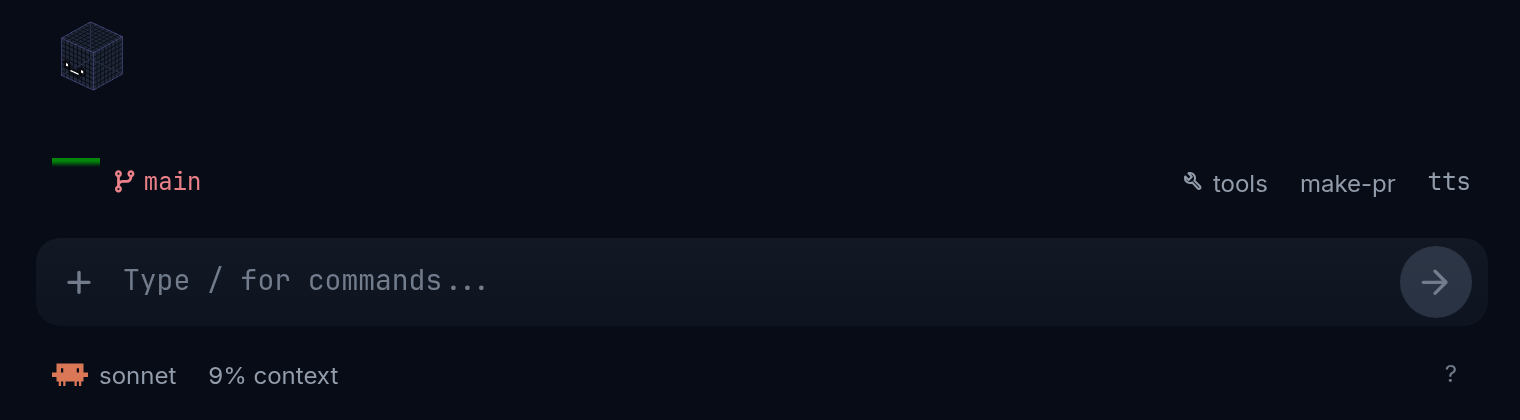
- Talk to the agent. Type in the message box at the bottom, which shows
Type / for commands...when empty. Press Enter or select the round arrow button at its right to send. - Check where it runs. The prompt bar above the message box shows the session’s folder and branch. Select the branch to refresh Git status. For the full path, open More actions (the ⋮ at the right end of the workspace tabs), then Session details, and read Directory.
- Use tools. Select tools on the prompt bar for Ask me questions and Smart review. The commit button appears beside it when the branch has uncommitted changes.
- Attach a file. Select the + at the left of the message box’s lower row.
- Check context use. The NN% context button below the message box shows how much of the agent’s context window is used, with Compact and Clear.
- Stop the agent. While it works, press Escape in the message box, or select the red stop button, Stop (interrupt), beside the activity indicator above the message box.
- Close the session. In the Sessions sidebar, select the session row’s ⋮ (Session options), then Close.
A session’s status, such as Idle or Stopping…, appears on its row in the Sessions sidebar.
The layout on a phone
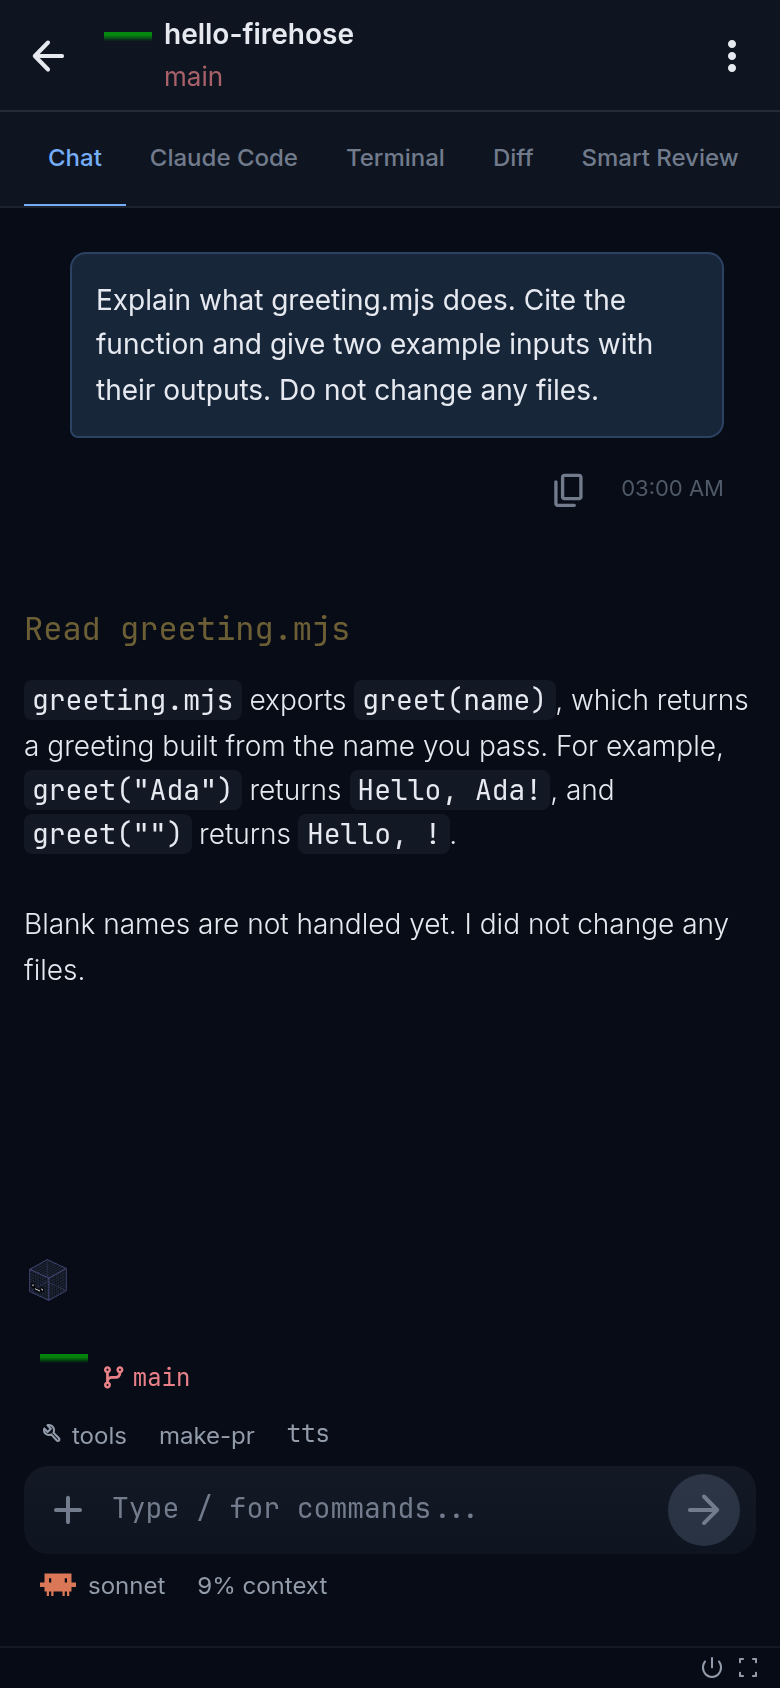
Section titled “The layout on a phone”On a phone, Firehose shows one screen at a time:
- The session list is the first screen. The icon rail, including Settings, appears only here.
- A session fills the screen when you select it. The workspace tabs start with Chat and scroll sideways. Select the back arrow in the session header to return to the list.
- The session header’s ⋮ menu has Interrupt and Session details.
See Use Firehose on mobile web for a full walkthrough.